Friday, July 26, 2024

Beside Me and Under the Moon

 Beside Me and Under the Moon


Stampin' Up! Supplies Used

Paper:

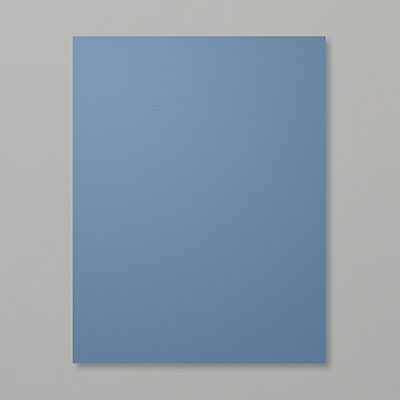
  • Misty Moonlight: 8-1/2" x 5-1/2", scored at 4-1/4"
  • Basic White: 4" x 5-1/4" (need two), scraps to stamp on
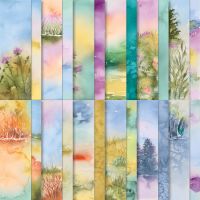
  • Thoughtful Journey DSP: 3-3/4" x 3" (sky)
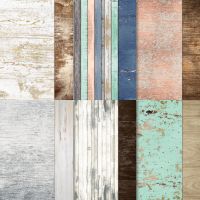
  • Country Woods DSP: 3-3/4" x 3-1/4" (water)
Stamps, Ink and Dies: 
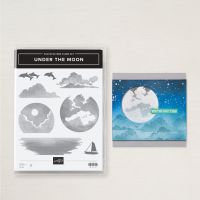
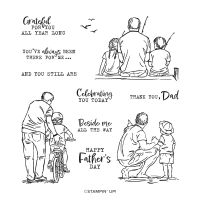
  • Under the Moon Stamp Set
  • Beside Me Stamp Set
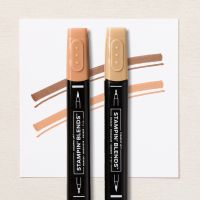
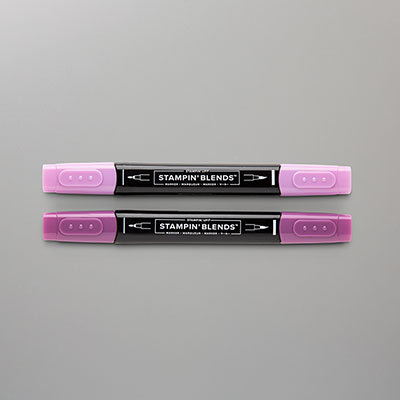
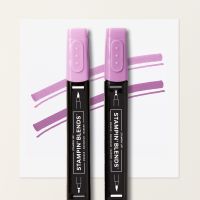
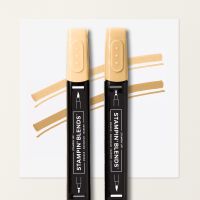
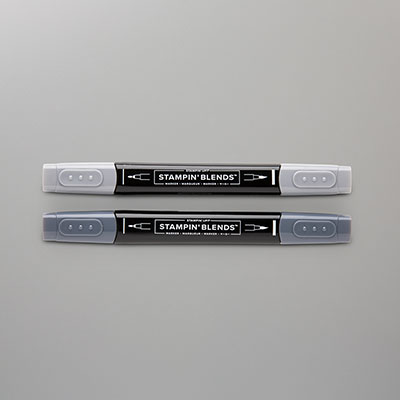
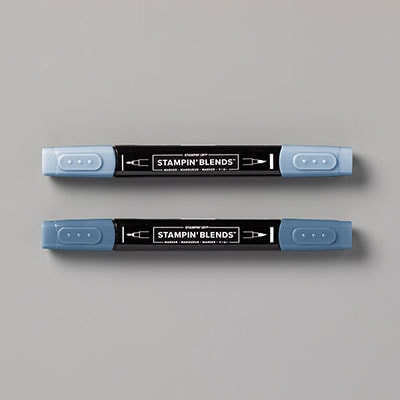
  • Stamp and Blends Markers: Blackberry Bliss, Petunia Pop, Peach Pie, Medium Combo Pack, Basic Black, and Misty Moonlight
  • Momento Black Ink Pad
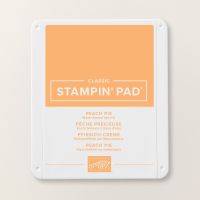
  • Peach Pie Ink Pad
  • 2" Circle Punch
Other:
  • Rhinestone Basic Jewels
  • Multipurpose Liquid Glue
Instructions
  • Stamp the moon with Peach Pie ink and cut out with the 2" circle punch.
  • Stamp the man and child image with Momento Black ink and color with Stampin' Blends. The man's shirt is colored with Blackberry Bliss to match the sky. The child's shirt is colored with Petunia Pop to coordinate but still be a little different than the man. The child's hat is colored with Peach Pie to match the moon. The white background area is colored with Misty Moonlight to match the water.
  • Glue the Basic White panel to the card front. Glue the sky panel next. On the water piece, rip the top edge. To get the white edge, rip the paper holding the back side facing you. Glue the water piece on. It will overlap the sky piece.
  • Trim the bottom edge of the moon off. Adhere the moon. The bottom edge of the moon will be overlapped by the water.
  • Adhere the water piece. It will overlap the sky and moon.
  • Fussy cut the people image and glue to the front of the card.
  • Stamp some birds in the top right of the card.
  • Add three Rhinestone Basic Jewels
  • The second white panel is for the inside of the card. Stamp and decorate it before glueing it in.


Alternative Supplies

This similar card uses the same stamp sets and Designer Series Paper. The only differences in supplies are the colors of Stampin' Blends chosen.
  • The man's shirt is Pool Party (#154894)
  • The kids' shirts are Calypso Coral light and dark (#154881)
  • The dock is the Deep Combo Pack (#158152)
  • The hair is Crumb Cake (#154882)
  • The skin is the Light Combo Pack (#159465)
  • The moon is Calypso Coral ink pad (#147101)
  • Clear Block E (#118484)

Click on any of the pictures below to see details about the products used in this card. The link will go directly to my online store.

Product List

Friday, July 19, 2024

Summer Classes

Summer Classes 

Don't forget to sign up for the next card making class on Friday, July 26th! Call me at 920-573-0006 or email: marygoroundcards@gmail. Please let me know by Wednesday, July 24th.


Adventurous Sky and Thoughtful Journey

 Adventurous Sky and Thoughtful Journey

Stampin' Up! Supplies

The paper:

  • Blackberry Bliss: 8-1/2" x 5-1/2", scored at 4-1/4"
  • Misty Moonlight: 5-3/8" x 4-1/8"
  • Thoughtful Journey DSP: 5-1/4" x 4", cut so design is horizontal
  • Basic White: 5-1/4" x 4", scraps
Stamps, Ink and Dies:
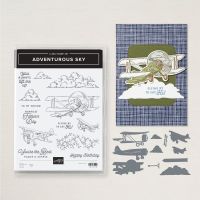
  • Adventurous Sky Bundle (Stamps and Dies)
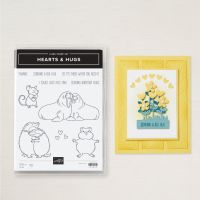
  • Hugs and Hearts Stamp Set (for sentiment)
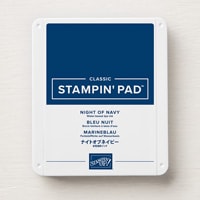
  • Night of Navy Classic Ink Pad
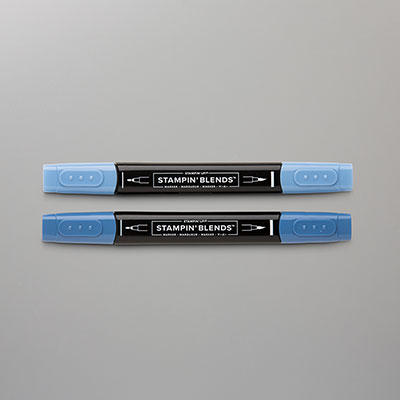
  • Stampin' Blends Markers: Misty Moonlight and Night of Navy
Other:
  • Rhinestone Basic Jewels
  • Multipurpose Liquid Glue
  • Mini Stampin' Dimensionals
Instructions
  • Stamp, die cut and color the small airplane. Color it with Misty Moonlight and Night of Navy.
  • Die cut the two smallest clouds. Die cut the arrow and stamp it with a sentiment. Make the arrow point in the same direction that the plane is flying.
  • Glue the Misty Moonlight layer to the card front. Glue the Designer Series Paper layer on top of that. 
  • Overlap and glue the clouds on the card. Add the airplane and the arrow with Mini Dimensionals.
  • Color three Rhinestone Basic Jewels with the dark Night of Navy Blend marker. Add them to the card.
  • The remaining white layer is for the inside of the card. 
Alternate Card

The sentiment on this card is from the Sending Love stamp set (#162873) and Sending Love dies (#162879). It is stamped with Tuxedo Black Momento Ink and Peach Pie Ink. The Peach Pie has been stamped on a sheet of scrap paper once before stamping on the envelope so it is not as dark. A small stamp has been drawn in the corner with an ink pen. It features gems from the Tinsel Gems Four Pack.

Click on any of the pictures below to see details about the products used in this card. The link will go directly to my online store.

Product List

Monday, July 15, 2024

Bonus Days!


  • If you order and you spend less than $150, please use the host code: AU9M7EGG. 
  • Be sure to save the coupon codes that Stampin' Up! will send you by email. You will need them to redeem your coupons in August.
  • There is no limit to the number of coupons you can earn.
  • Order here: https://marythiel.stampinup.net


Friday, July 12, 2024

Country Flowers Teapot Garden

 Country Flowers Teapot Garden


Stampin' Up! Products 

The Paper:

  • Basic White Thick: 8-1/2" x 5-1/2", scored at 4-1/4"
  • Basic White: 2-1/4" x 3-1/2"
  • Boho Blue: 3-1/4" x4-1/2", scrap
  • Daffodil Delight: scraps
  • Shy Shamrock: scraps
  • Shy Shamrock Glimmer Paper: scrap
Ink, Stamps and Dies:
  • Boho Blue Classic Ink Pad
  • Daffodil Delight Ink Pad
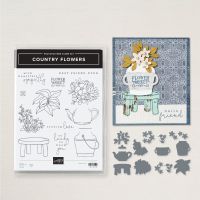
  • Country Flowers Bundle (Stamps and Dies)
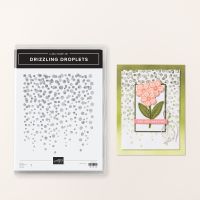
  • Drizzling Droplets Stamp Set
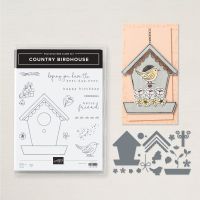
  • Country Birdhouse Bundle (Stamps and Dies)
  • Happy Little Things Dies
Other:
  • Rhinestone Basic Jewels
  • Multipurpose Liquid Glue
  • Stampin' Dimensionals
  • Mini Glue Dots
  • Clear Block Size F
  • Distressed Tile Embossing Folder
Instructions
  • Stamp and die cut the teapot. Die cut the flower bucket, flower and leaves from the Country Flowers bundle. Die cut two sets of leaves - one from Shy Shamrock cardstock and one from Shy Shamrock Glimmer Paper. 
  • Die cut the stand for the bird house. The teapot hook is a swirly piece cut from the birdhouse stand in the Country Birdhouse die set.


  • Die cut the label from the Happy Little Things dies or another similar die. Stamp it with the sentiment of choice.
  • Stamp the smaller white panel with the Drizzling Drops stamp. 
  • Emboss the front only of the card base.
  • Glue the card layers to the card front as shown.
  • Glue the flower bucket down. Add the glimmer leaves with Stampin' Dimensionals. Then adhere the other leaves on top with Mini Glue Dots. Add the flowers with Mini Glue Dots.
  • Add the sentiment to the card front with Mini Glue Dots.
  • Hook the swirly piece to the top of the card. Hook the other end to the teapot handle. Add the teapot with Stampin' Dimensionals.
  • Add Rhinestone Basic Jewels to middle of the flowers. Also use a few jewels to make a "stream of water" from the teapot to the flowers.
Alternate Project

The alternate project uses Gray Granite (#146983), Pretty in Pink (#163793), and Misty Moonlight cardstock (#153081). The Embossing Folder is the Painted Texture 3D Embossing Folder (#154317). Notice the layout is slightly different.

Click on any of the pictures below to see details about the products used in this card. The link will go directly to my online store.

                                                               Product List

Humble Home Thank You Card

 Humble Home Thank You Card Stampin' Up! Supplies The Paper: 2024-26 In-Color 6" x 6" Designer Series Paper: 4" x 5-1/4&q...

Popular Posts Title